
Saturday, September 28, 2013
almost done
step - done


Wednesday, September 25, 2013
step in place
Secured the step with screws and glue then filled the holes with black filler. Then applied one more coat of polyurethane and we've got a solid step that is almost too pretty to step on.


Next up is the threshold which just got it's first coat of poly. It will get at least three more and then will slide in under the door trim. After that, one final piece of vertical trim and that will complete the entrance. This piece of wood is not quite as old as the step (at least 250 years!) it is probably 100 years or so as this was salvaged from an upstairs bedroom and doesn't show the richness of the old sheathing boards.
 |
| threshold |
Saturday, September 21, 2013
after a long break ...
So we are finally getting the finishing touches with the porch. First, the step. You may remember that we saved some of the original sheathing for a future use. We planed the boards and squared them then joined them to make a wide step. We'll put several coats of poly on it then fasten it in place.

 |
| shimming the nailers |
 |
| original sheathing |
 |
| planed and joined |
 |
| filling old holes and cracks |
 |
| first coat of polyurethane |
Sunday, May 12, 2013
Baseboard - almost complete


Saturday, May 11, 2013
more small steps

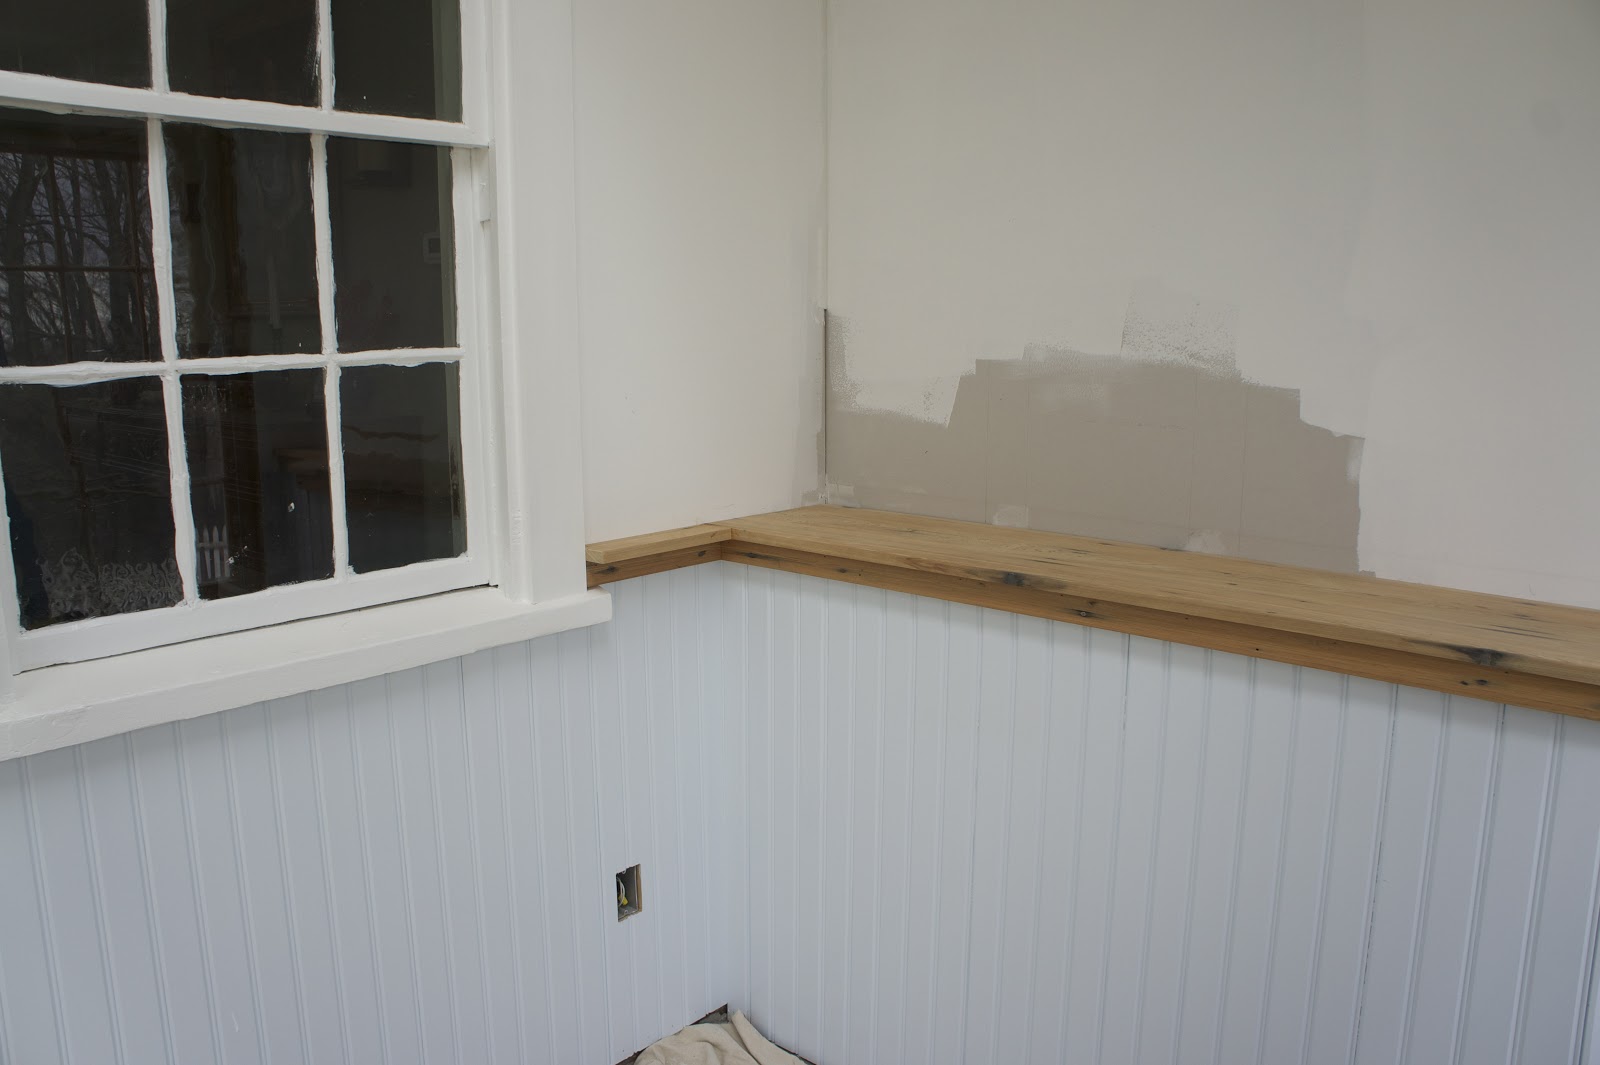
Baseboards are painted and ready for installation - tomorrow.

We added this little stop to the trim to keep the door from denting. The top of the step is off in order to install the baseboard. We'll be planing down some old sheathing to make the actual step.

Monday, May 6, 2013
small steps


 |
| The one on the right works, the one on the left is a dummy (we wired things so we could add fans later) |
Sunday, May 5, 2013
first coat of paint
Nail holes are patched and the first coat of paint is on the new trim. Once it was dry, all the gaps were caulked. One more coat tomorrow, then onto baseboard!


trim is almost complete
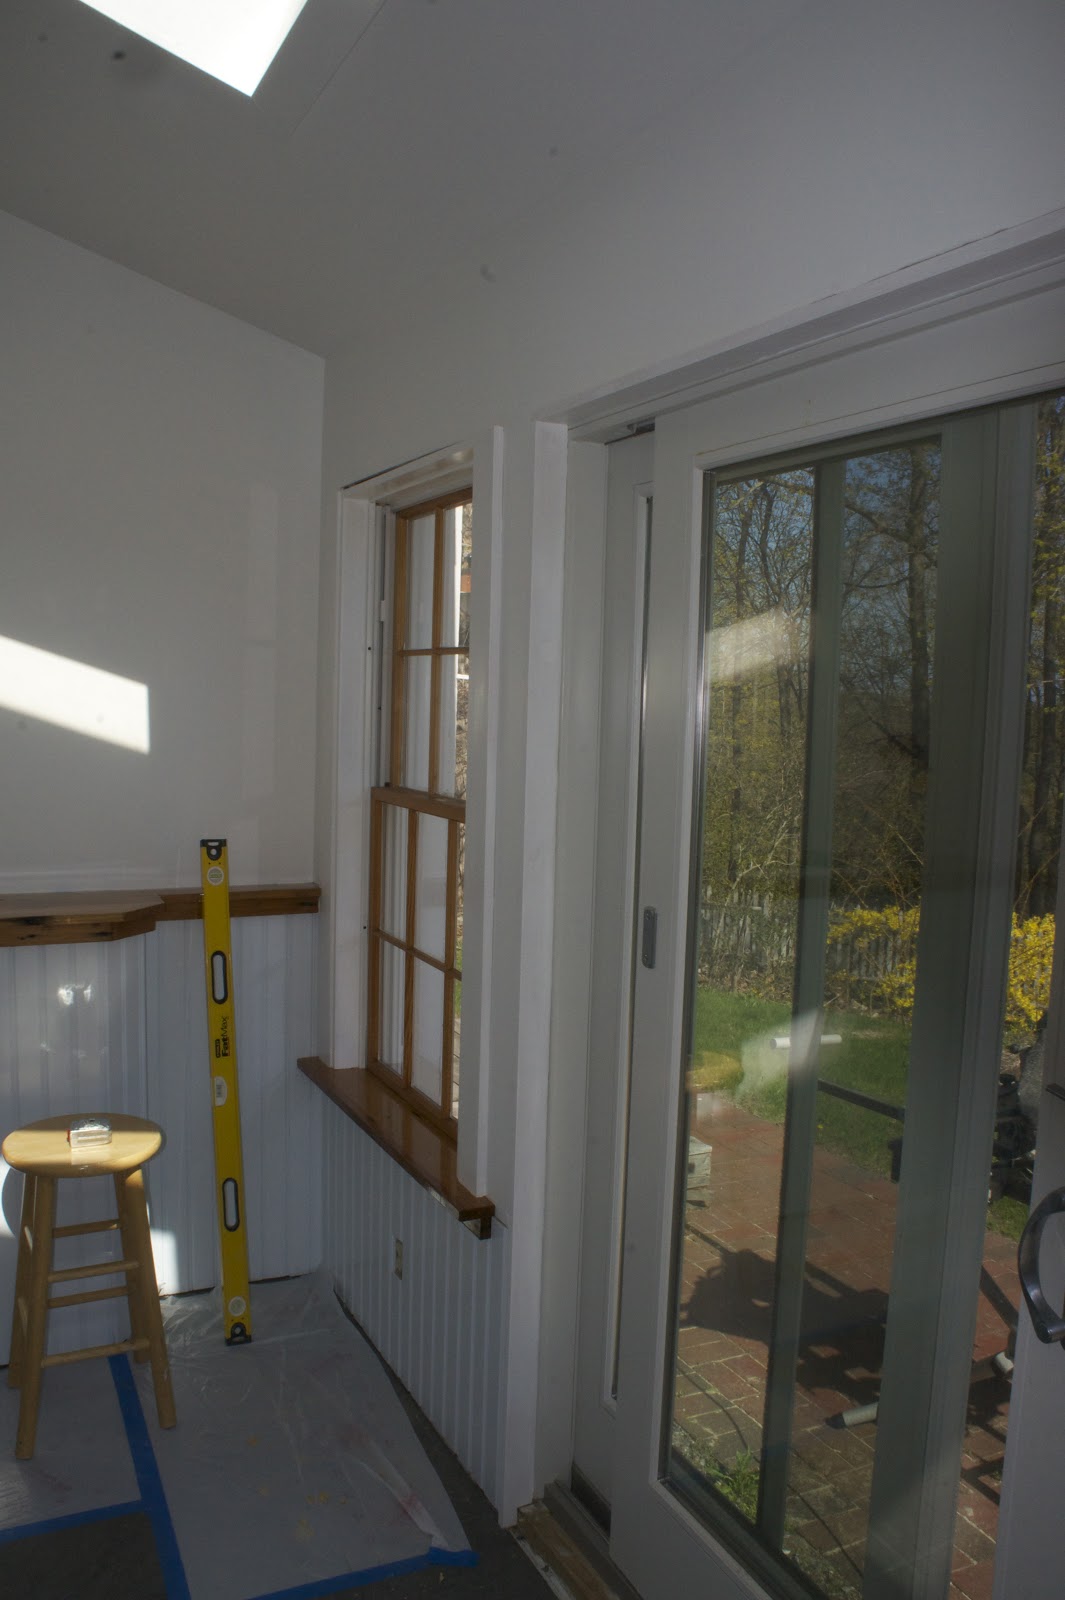
So here's our decision on the trim over the windows and slider. We've added a narrow shelf to allow for displays. More filler, caulk, sanding and paint and this part of the project will be complete.


Saturday, May 4, 2013
another weekend, more paint and trim
Began the day with the second coat of paint to the window jambs. Also started applying poly to the windows themselves. This will be a 3 or 4 day ordeal. Lots of cutting, shimming, and nailing to things in place. Once the first coat of paint is on, we'll caulk the joints to make those spaces disappear.

 |
| first coat of paint to the trim |
 |
| Window trim starts |
 |
| adding jambs to the slider |
Monday, April 29, 2013
Some pretty flowers
Bright colors will be a great contrast to the white walls and trim. Here's one daffadil from our garden surrounded by some pretty purples (I don't know what they are as they were imported from somewhere).


Sunday, April 28, 2013
starting the window trim
Finished extending the window jambs. We're going to do things a little differently than normal. The trim will sit on and beside the jambs rather than over them. Next up will be to do the same with the sliding door then add the trim all around.
 |
| This corner will be a tight fit |
 |
| Here's what the trim will look like above the windows |
 |
| Here's how the top and side trim should line up |
Saturday, April 27, 2013
the wall is done
The wall is done and painted with a couple of coats of flat white. Now we'll be able to return to completing the baseboard, window trim and step.


slight change of plans

Monday, April 15, 2013
first coat of polyurethane

After a thorough sanding and a wipe down with naphtha, the first coat of poly has been applied. I intended to use a water-based product but having second thoughts went with an oil-based polyurethane that should give the desired results (but it will take several days).
 |
| the black filler putty sanded down well |
 |
| need to start building the bookcase |
 |
| view from the dining room is getting better |
finishing up the window sills
Well, took some time this morning to finish up with the conversion from floor boards to window sills. Nice and sunny for a change so I could set up outside to minimize the dust. After some very careful cutting (there are no extra pieces so it has to be right the first time) everythings in place.
 |
| complex cuts to fit |
 |
| a little more trimming and it's good |
 |
| now to join the corner together |
 |
| this was the easy one |
Sunday, April 14, 2013
finally, chair rail
 |
| Not sure a martini glass will fit |
 |
| this side is almost done |
 |
| door is done with 3 coats and rehung |
 |
| may keep the windows natural to match? |
Subscribe to:
Comments (Atom)