Saturday, April 13, 2013

A leak!


Sometimes you wake up after a long night of steady rain and find something you don't want to see.  This morning it was puddle by the big sliding door.  At first I thought it was just some rain that got in when I openned it, but on further review, there was a drip coming from just above the door itself.  I've caulked the exterior - more rain on tap tonight so we'll see if that is the culprit.  Long term, we're planning on a gutter and rain collection system which should help.
the exit point for the water
best guess is that the water crept down the fascia throught this crack (since sealed) and below the door's header to the path of least resistance 
Meanwhile, painting continues with the door and it's trim.  Hopefully tomorrow will allow for the chair rail to begin to be installed.

Monday, April 8, 2013

more paint and more trim

Stayed home from work to get one more task completed.  After trimming the windows it was time to trim around the door.  This step was needed in order to then start adding the chair rail.  As with the window trim, the door trim needed to be built out to match the uneveness of the walls, wainscotting and existing rough trim.  
door opening before trim


building up the trim

in place


There's now a coat of paint on the door trim and three coats on the windows.
Here's a sneak peak at the lumber that will be used for the chair rail.  We salvaged the original porch floor boards - look way back in the blog and you may find them coming up.  They were in rough shape - many nails from the original square nails to modern nails and staples.  There were about 4 layers of flooring when we started ripping things up.  Below is a before and after.  The board on top has been planed and the edges squared.  The holes have been filled with epoxy to keep the character and remind us of the history.  Next weekend we'll be cutting them to fit and start the installation.
original porch floor boards

Sunday, April 7, 2013

Window trim

We fabricated some trim to finish the old windows.  Because the wall board is not flush with the old trim, we had to build up the outsides as seen in the picture below.

built up trim

before adding trim

finished windows

Now they just need paint and they will be done.  Next up will be the chair rail.

Sunday, March 24, 2013

More paint and some trim work


There's now 2 coats of Club Soda (almost a porch ceiling blue) on the beadboard.  Next steps there are to add the baseboard and the chair rail.  The skylights are trimmed out and are getting painted with a semi-gloss white.  That will be the color for the windows and door as well.  Reinstalled the lights since we're almost done with the ceiling.  There will be a detail above the old windows that should end up looking like a rough beam.  The old windows will get some additional trim details to tie everything together.

Sunday, March 17, 2013

Paint choices


 Started the day with a lot of paint chips on the wall to help make some decisions.  We'd already decided on flat white for the ceiling.  Next up were the walls and beadboard.  Initially, we were ging to opt for somethin in the light blue category for the walls with a creamy white for the beadboard.  That evolved to flat white for the walls and a color called Club Soda for the beadboard and trim.

 Club Soda is the chip on the right in the last picture.  So, the walls are done and we're off to Home Depot to pick a few gallons of semi-gloss Club Soda to apply to the beadboard.

Saturday, March 16, 2013

Beadboard is finally finished


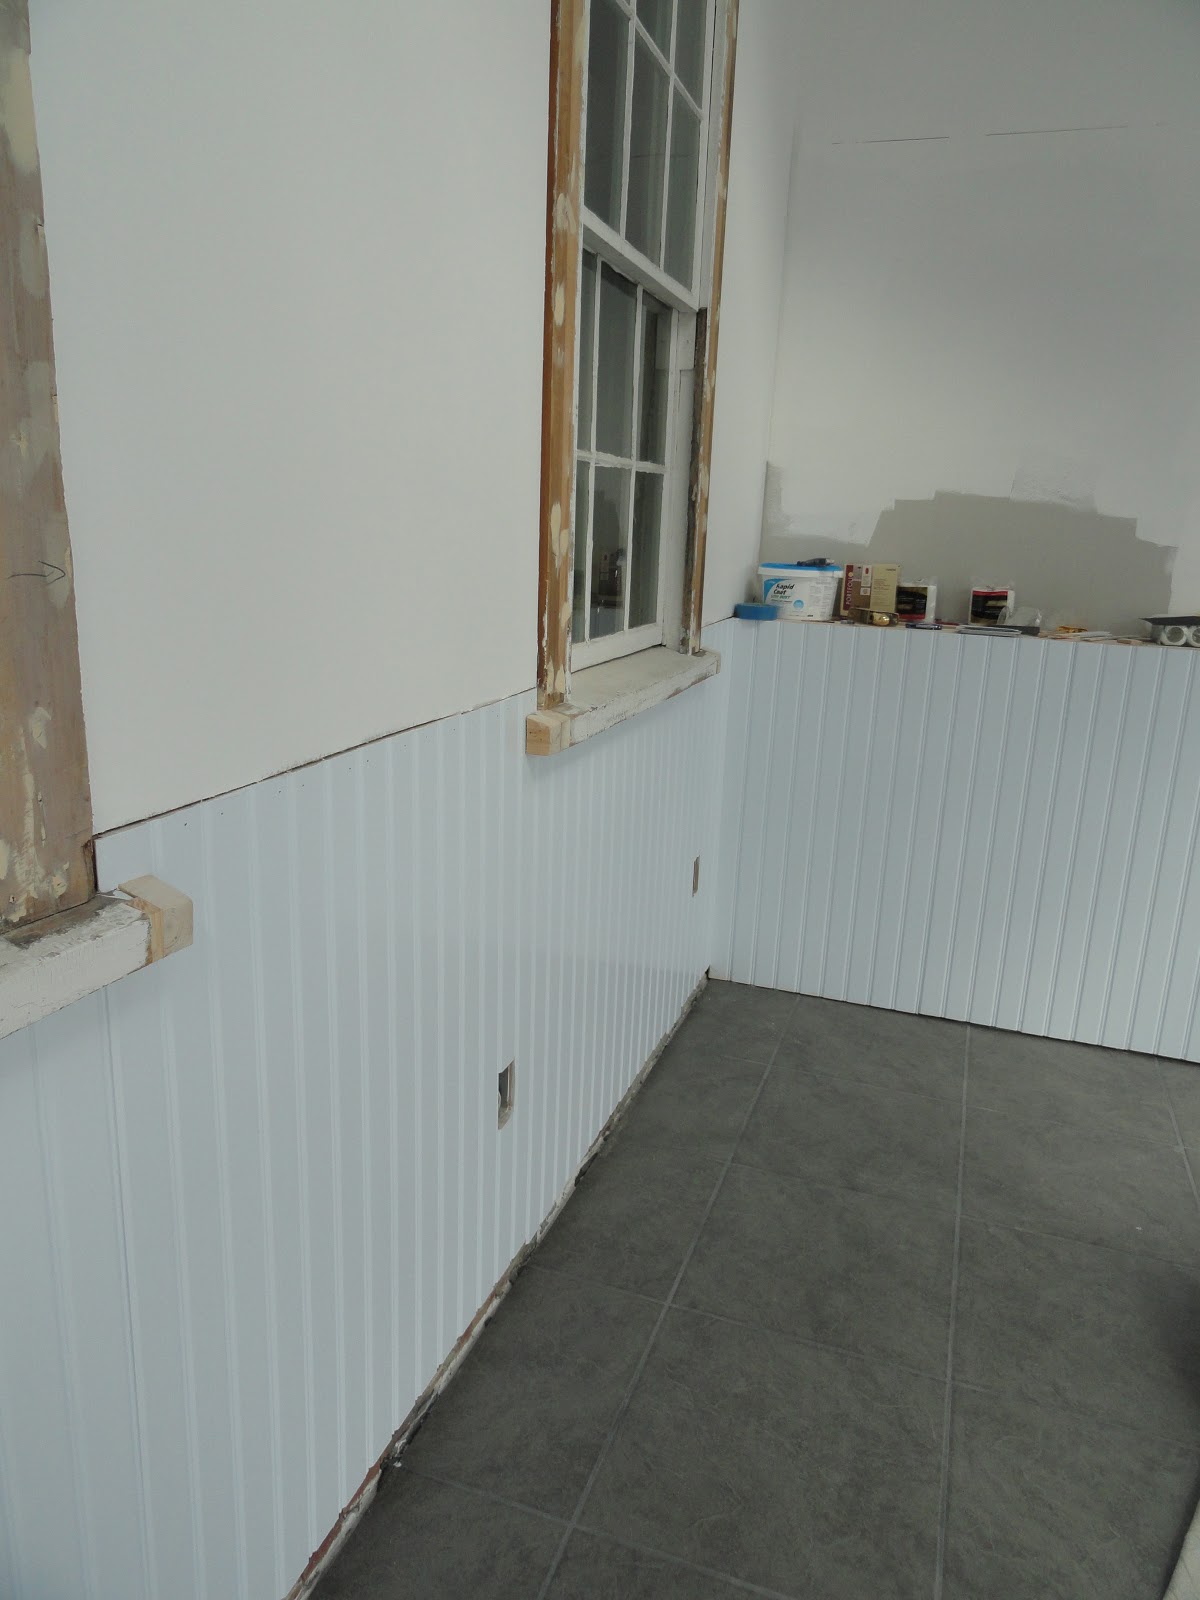
After receiving a third order of beadboard, the wainscotting is finally complete.  Next steps will be to put two coats of paint on the walls and ceiling.  After that, it will be time for the finish carpentry - all the window trim along with the baseboard and shelves.  Hopefully we'll be able to plane the old porch floor boards and a few of the old sheathing to use for the trim, shelf, and step.
sheathing from the original porch wall

porch floor boards 

Saturday, March 9, 2013

Primer

 Started the day by finishing the skylight trim and then went on to putting more beadboard up.  Turns out even after getting extra we're still short so finishing that job will need to wait for another day.  Joint compound is finally done and smooth so it was time to paint some primer.  The ceiling and walls have their first coat - except where the bookcase will be installed.  Next step besides finishing the beadboard, is to pick out the paint colors and get that going.